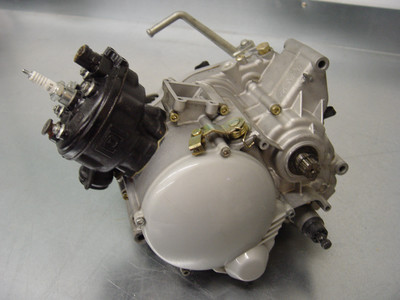
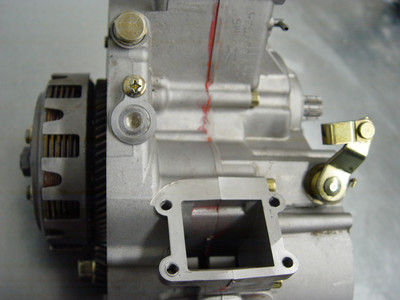
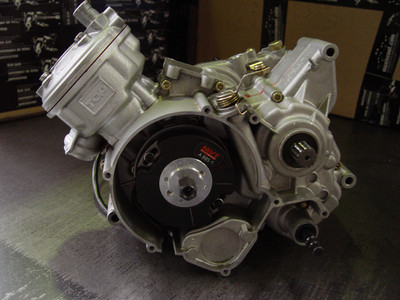
01 / First, loosen the oil drain plug under the engine to drain the oil. Then remove the lower engine from the frame and remove exhaust, reed valve, carburetor, sprocket and shift lever.
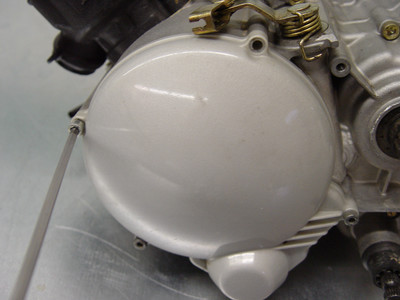
02 / Loosen the screws of the ignition cover.
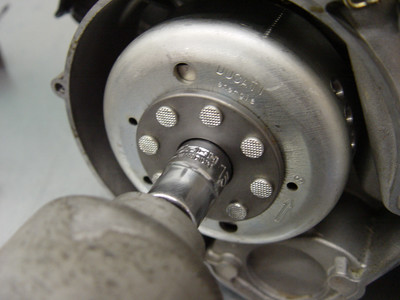
03 / Then loosen the crankshaft nut on the ignition side.
04 / Then remove cylinder, piston and cylinder head.
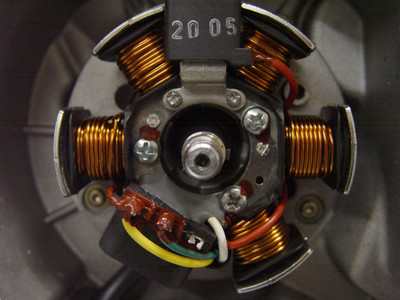
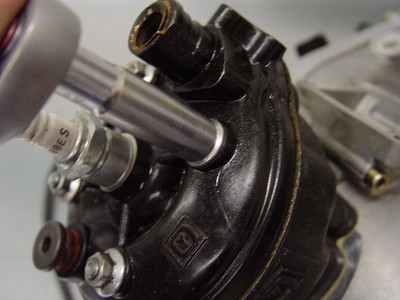
05 / Remove the ignition rotor with a flywheel puller.
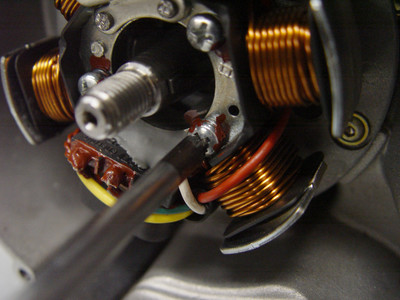
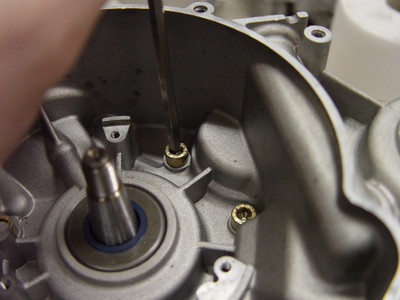
06 / Loosen the three screws securing the stator.
07 / Then loosen the three screws securing the base plate to the crankcase.
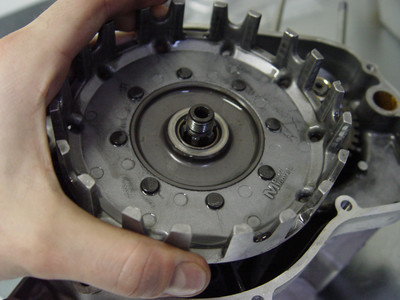
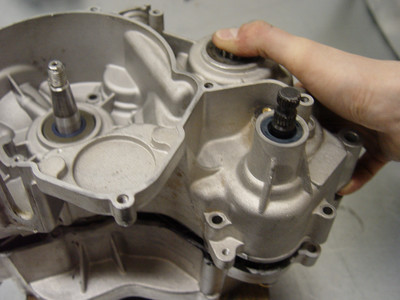
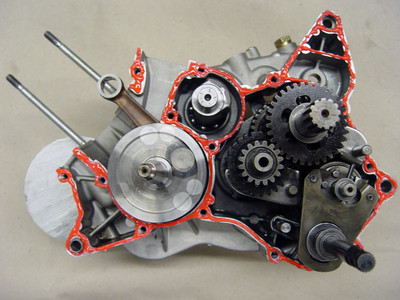
08 / Loosen all housing screws on the clutch side and take off the crankcase half.
09 / Remove the kick start assy.
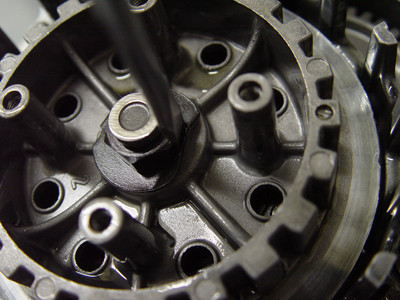
10 / Loosen the 4 clutch screws.

11 / Then remove the pressure plate and all clutch disks.
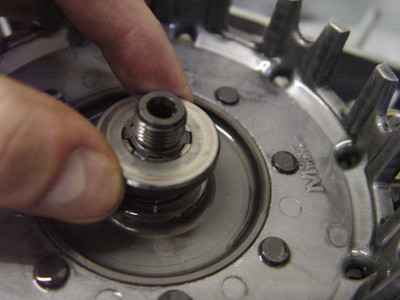
12 / From the clutch shaft...
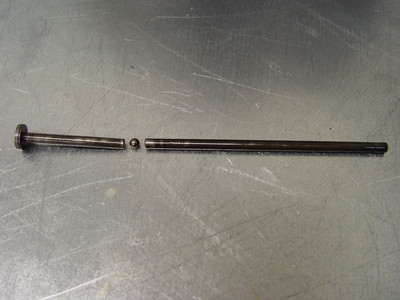
13 /... remove push rods plus ball.
14 / Fold up the washer of the clutch nut to be able to unscrew the nut.

15 / Loosen the nut with an impact wrench or similar tool, blocking the inner clutch hub.
16 / Then remove the clutch hub.
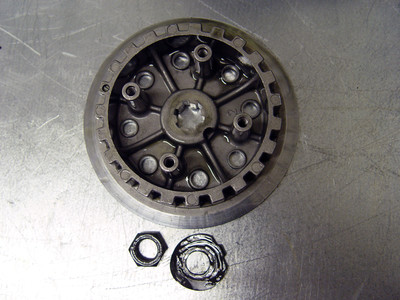
17 / Remove the fluted washer.
18 / Remove the clutch basket as well as the flat and conical washer.
19 / Loosen the crankshaft nut with an impact wrench or, alternatively, by locking the gears by screwing a bolt onto the pinion of the balancer shaft and securing it against a crankcase rib.
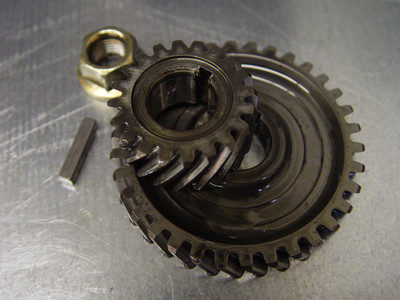
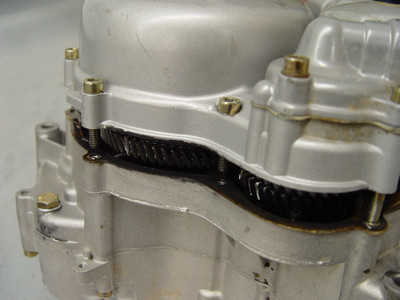
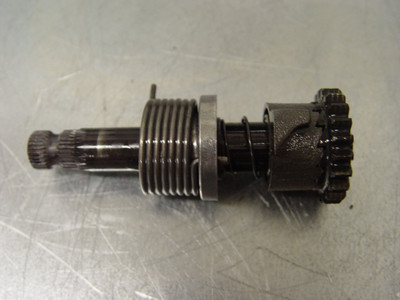
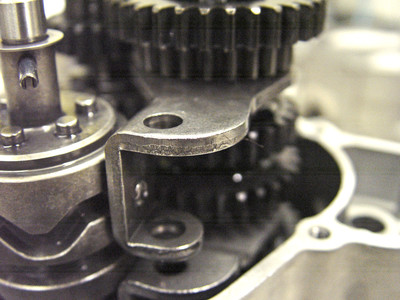
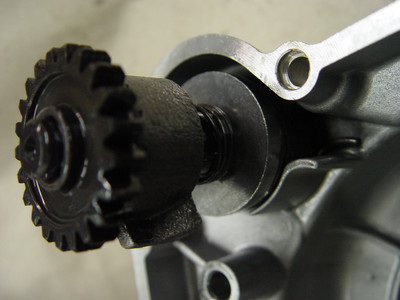
20 / Remove the two gears and the woodruff key.
21 / Pull the lever off the clutch rod.
22 / Loosen the 13 screws that secure the crankcase.
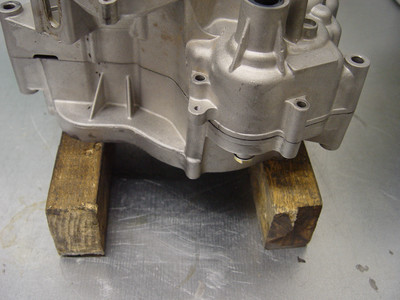
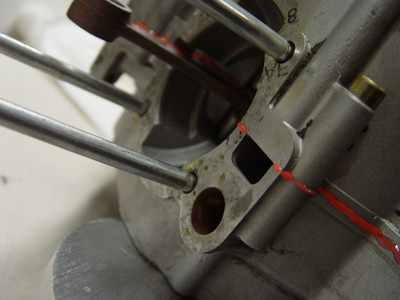
23 / Place the crankcase with the clutch side pointing downwards on two blocks or similar.
24 / Split the crankcase by pressing on the secondary shaft.
25 / If necessary, collect all the washers that may be stuck by the oil in the crankcase, as well as the O-ring and its spacer located on the crankshaft towards the clutch.
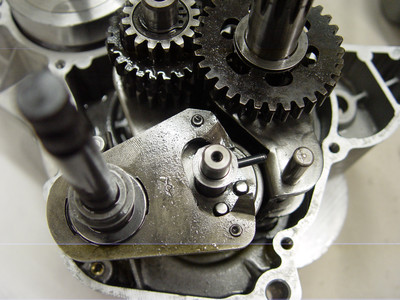
26 / Remove the gear selector shaft and the two washers.
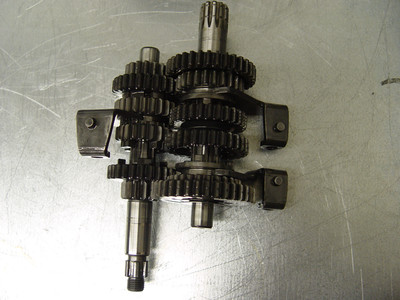
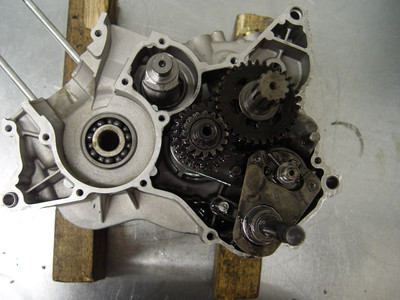
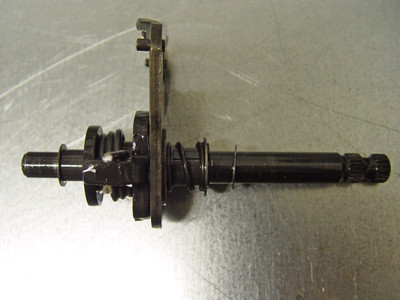
27 / Then remove the primary and secondary shafts including forks and shift drum with the ball and spring underneath.
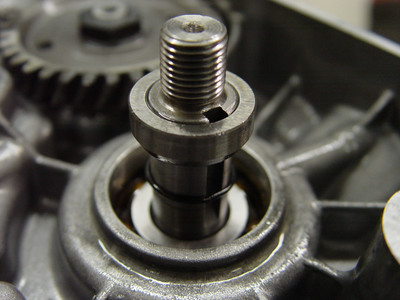
28 / Remove the bearing with a hammer using a socket with the same diameter as the oil seal.
29 / If the crankshaft gets stuck in the bearing, screw a nut onto the crankshaft so as not to damage the thread and tap it lightly with a soft face hammer. Remove the oil seal the same way.
30 / If a bearing gets stuck on the crankshaft, we recommend using the Buzzetti bearing removal kit available in our shop.
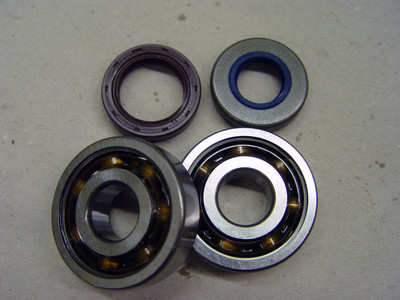
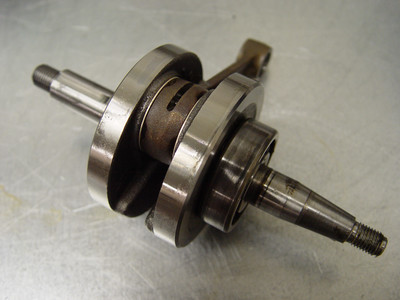
31 / Now we reassemble the crankshaft. We use very high quality C3 bearings and two oil seals, all from Stage6, both are also available in our store.
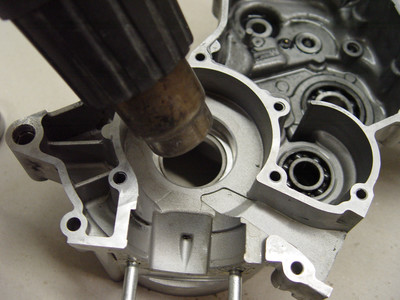
32 / Heat the bearing case to approx. 80° using a hot air gun.
33 / Then immediately place the bearing in the designated bearing seat. If the crankcase has been well heated, this should fall to the bottom of the housing without any assistance.
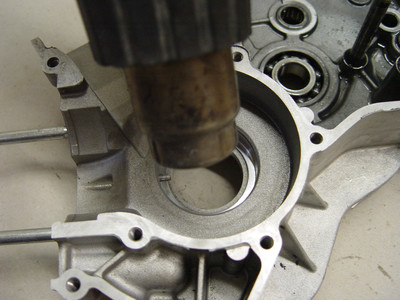
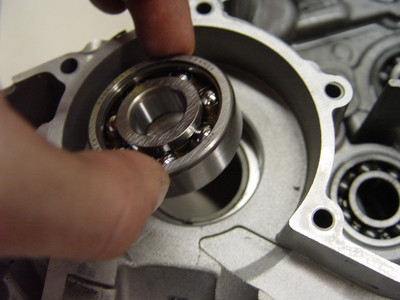
34 / Repeat the same procedure on the other half of the crankcase.
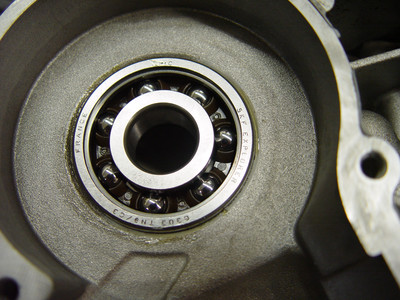
35 / Again, the bearing should drop to the bottom of the bearing seat by itself.
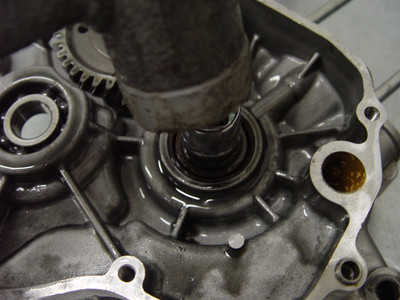
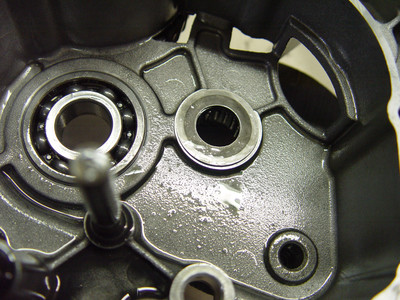
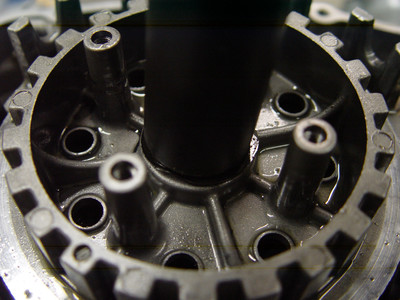
36 / View of crankcase on ignition side.
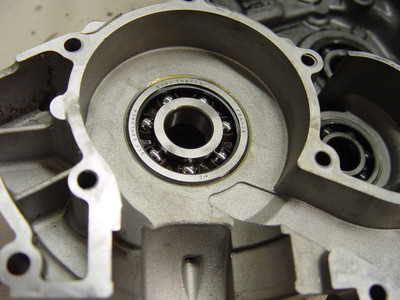
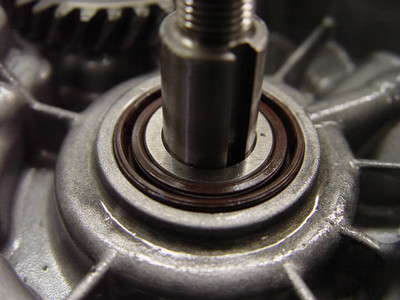
37 / Insert the oil seal on the ignition side.
38 / Insert the crankshaft into the right half of the crankcase.
39 / Place the washer on the needle bearing in the right half of the crankcase.
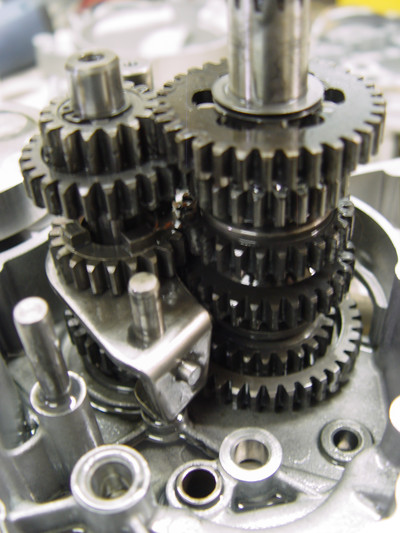
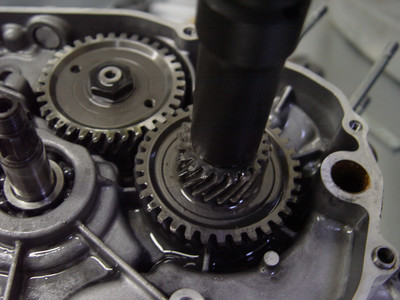
40 / Insert the primary gear unit plus shift fork and the secondary gear unit.

41 / Insert the angled shift fork of the secondary gear into its position on the 5th gear wheel.
42 / Place spring and ball.
43 / Place the pin of the shift fork of the primary gear unit in the center groove of the shift drum.
44 / Place the fork on the secondary gear, on the 6th gear wheel, and insert the pin in the top groove of the shift drum. Do the same for the angled fork on the secondary gear, placing the pin in the lower groove of the shift drum.
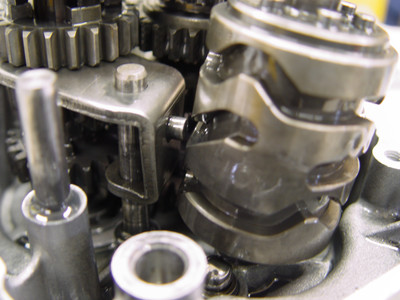
45 / Place the rod on which the shift forks of the secondary gear are seated in the receptacle provided for this purpose and place the shift selector in 4th gear.
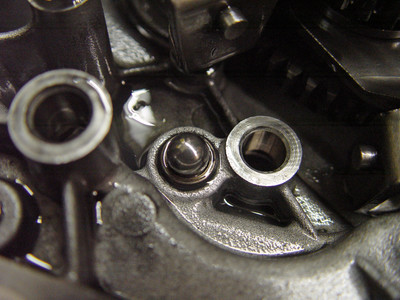
46 / Ensure that there is a washer on the output shaft, the shift drum and the shift lever.
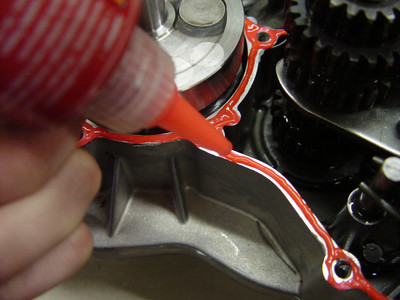
47 / Thoroughly degrease the sealing surface of the right crankcase half and then apply sealing compound.
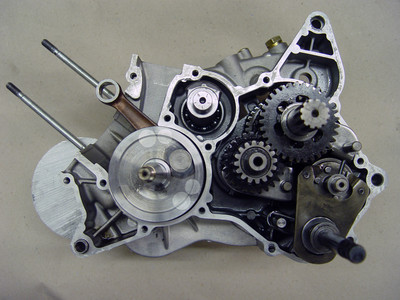
48 / It now looks like this.

49 / Place the right half of the crankcase on two blocks so that the protruding shafts do not knock out the entire gearbox, and then place the left half of the crankcase on top.
50 / Tighten all 13 screws crosswise to close the crankcase.
51 / After the crankcase is reassembled, check that the crankshaft rotates freely and that the gears shift correctly.
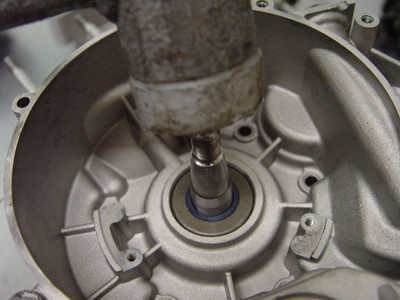
52 / Place the O-ring and the spacer bush on the bearing in the right half of the housing.
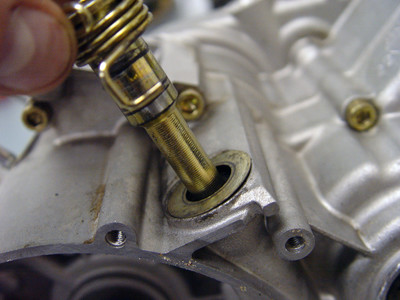
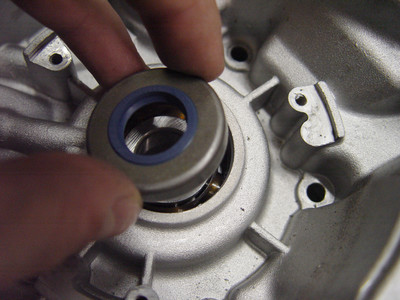
53 / Place the oil seal.
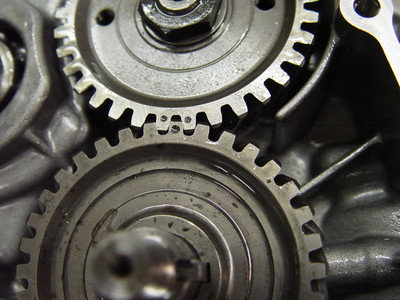
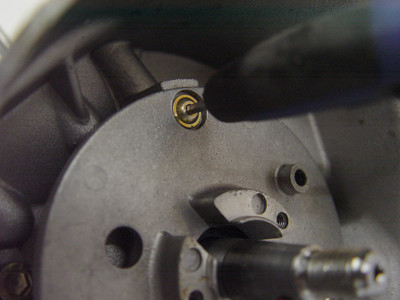
54 / Place the ignition key and pinion on the crankshaft. Make sure that the single mark located on one tooth of the crankshaft gear is located between the two marks on the two teeth of the balance shaft gear.
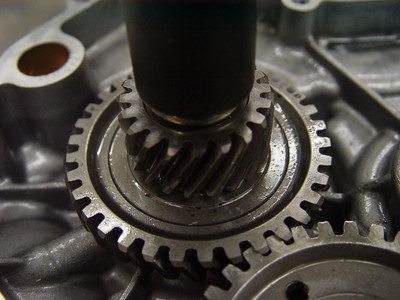
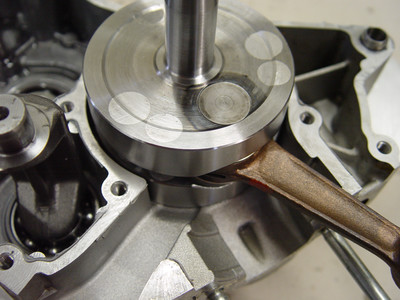
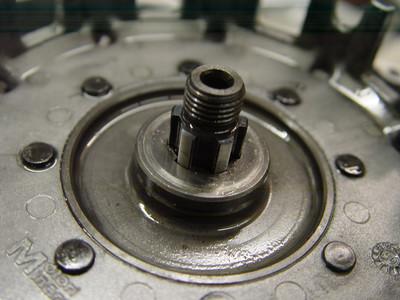
55 / Place the small gear on the crankshaft and tighten the nut.
56 / Place the conical washer on the primary shaft with the convex side facing the bearing side, then place the flat washer.
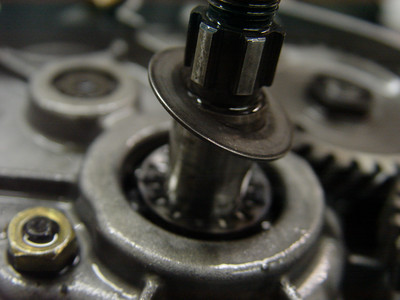
57 / Place the clutch basket and washer on the primary shaft.
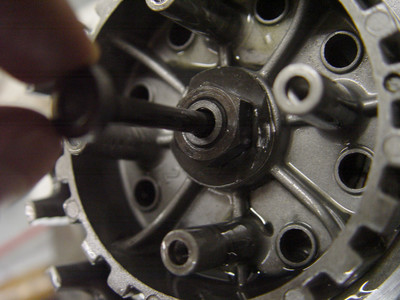
58 / Then place the clutch inner hub, the lock washer and the nut.

59 / Tighten the nut and, as before, fold over one side of the washer to secure the nut.
60 / Replace the release lever.
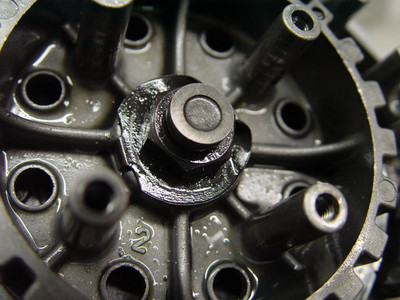
61 / Insert the push rods and ball into the clutch shaft.
62 / Now replace the clutch plates.
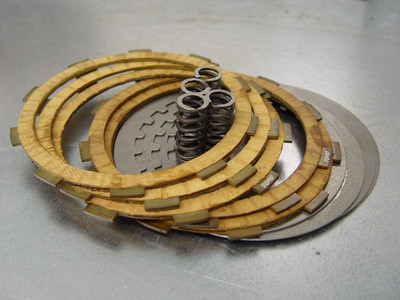
63 / Soak the friction discs in transmission oil overnight so that the linings can soak up some oil. Dry mounting of the clutch discs leads to premature wear.
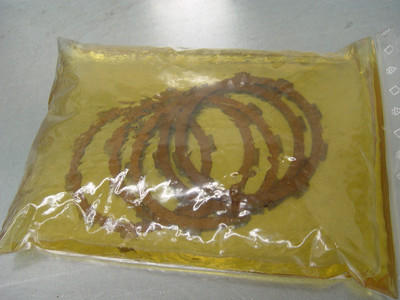
64 / Place the clutch discs by alternately placing first a lined friction disc, then a smooth steel disc, and so on.
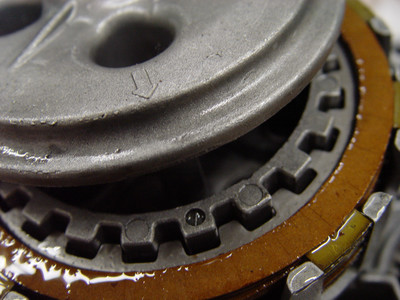
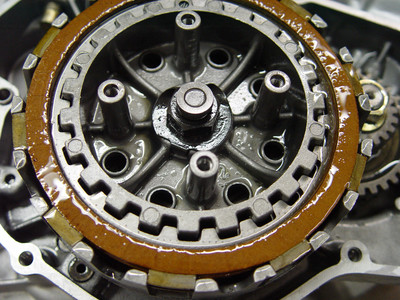
65 / Place the pressure plate and make sure that the arrow on the pressure plate is opposite the round marking on the clutch hub.
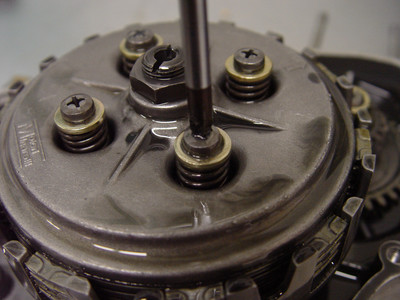
66 / Place the 4 screws with washers and springs in the holes.
67 / Loosen the lock nut of the clutch pressure plate and loosen the central screw slightly so that the release lever is at an angle of 30° to the sealing surface of the ignition cover. Then tighten the lock nut again.
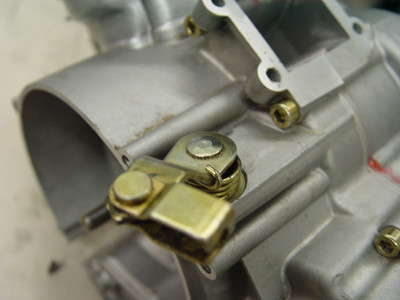
68 / Mount the spring and the connecting piece of the kickstarter on the clutch cover.
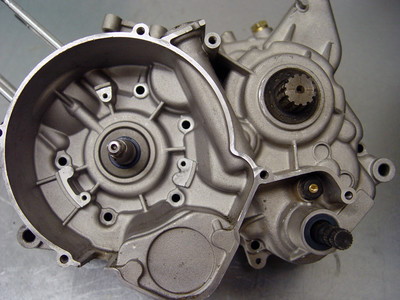
69 / Replace the crankcase cover and tighten all screws.
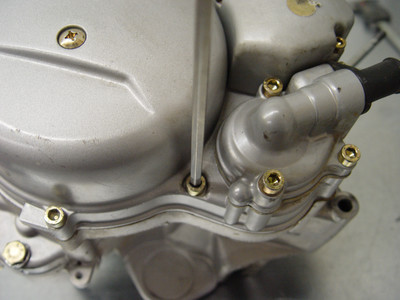
70 / Reassemble the ignition in the same steps as before, as well as the other parts of the engine.